How to Add Audio to Google Drive (Easiest Way in 2025)
In this article, we will show you how to add audio files to Google Drive by using the New button or the drag-and-drop method. Simply follow the steps below.
How to Save an Audio File to Google Drive
Follow the steps below to save audio to your Google Drive.
1. Record or Download Your Audio File
Ensure your audio file is in a compatible format such as MP3, WAV, or OGG. If you don’t have an audio file ready, you can record one using various tools like Voice Recorder on Windows, QuickTime Player on Mac, or online recording services. For this example, we will use an audiobook in MP3 format.

2. Upload the Audio File to Your Drive
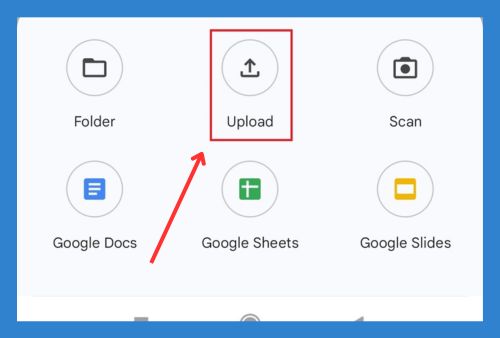
Click on the + New button in the top-left corner of the Google Drive interface and select File upload from the drop-down menu. Navigate to the location where you saved your audio file and select it to start uploading. Alternatively, you can simply drag the file into the Google Drive window and release the mouse to drop the file into Google Drive.

3. Verify the Upload
Once the upload is complete, the audio file will appear in your Google Drive. Click on the audio file to open it. Google Drive will open a preview window where you can play the audio to ensure it uploaded correctly.

4. Organize the Audio File (optional)
Right-click on the audio file in Google Drive to open a context menu. You can rename, share, move, or delete your audio as needed.

We hope that you now have a better understanding of how to add audio files to Google Drive. If you enjoyed this article, you might also like our article on how to save a PowerPoint in Google Drive and how to save a word document to Google Drive.

