Transfer Files From Google Drive to External Hard Drive (2025)
In this article, we will show you how to transfer files from Google Drive to an external drive. Simply follow the steps below.
How to Transfer Files From Google Drive to External Drive
To transfer files from Google Drive to an external hard drive, follow the process below.
1. Select the Files You Want to Transfer
Navigate to the files you want to transfer. Click on each file or folder to select it. To select multiple items, hold down the Ctrl key (Cmd key on Mac) and click on each item.

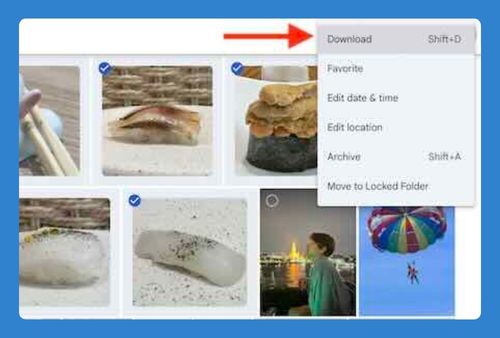
2. Download Selected Files
Right-click on the selected files and choose “Download.” The selected items will be compressed into a ZIP file and downloaded to your computer.

3. Locate the Downloaded ZIP File
Once the download is complete, locate the ZIP file on your computer. It is usually found in the “Downloads” folder.

4. Extract the ZIP File
Right-click on the ZIP file and select “Extract All” or use your preferred extraction tool to unzip the files.

5. Connect the External Hard Drive
Connect your external hard drive to your computer using a USB cable. Ensure the drive is recognized by your computer.
6. Open the External Hard Drive
Open a new File Explorer (Windows) or Finder (Mac) window and navigate to the external hard drive. In the example below, our external drive is named “Black”.

7. Transfer Files to External Hard Drive
Drag and drop the extracted files from your computer to the external hard drive. Alternatively, you can copy and paste the files.

We hope you now have a better understanding of how to transfer files from Google Drive to an external hard drive. If you enjoyed this article, you might also like our article on how to transfer photos from Google Photos to an external hard drive or our article on how to add password to Google Drive folder.


