Transfer iPhone Photos to Google Drive (Easiest Way in 2025)
In this article, we will show you how to transfer iPhone photos to Google Drive. Simply follow the steps below.
Transfer Photos From iPhone to Google Drive
To transfer photos from iPhone to Google Drive, follow the process below.
1. Open the Google Drive App
Ensure you have the Google Drive app installed on your iPhone. Open the app and log in to your Google account if you haven’t already.

2. Tap the “+” Button
In the bottom right corner of the Google Drive app, tap the “+” button. This will open a menu with various options.

3. Select “Upload File”
From the menu that appears, tap on “Upload File.” This will open your file options for upload.

4. Choose “Photos and Videos”
In the upload options, select “Photos and Videos.” This will open your iPhone’s photo library.

5. Select Photos
Browse through your photo library and select the photos you want to upload to Google Drive. You can select multiple photos by tapping on each one.

6. Tap “Upload”
Once you have selected the photos you want to upload, tap the “Upload” button in the top right corner of the screen. The photos will begin uploading to your Google Drive.

7. Monitor Upload Progress
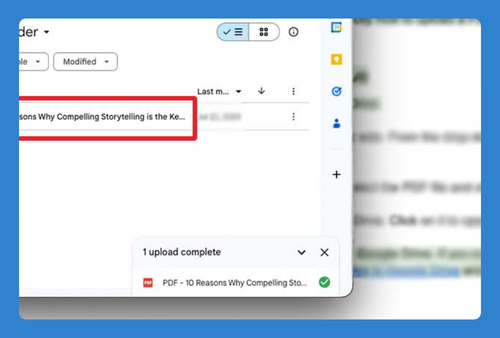
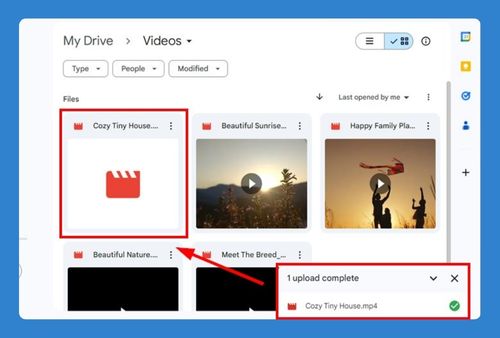
You can monitor the upload progress in the Google Drive app. Once the upload is complete, the photos will appear in your Google Drive.

We hope you now have a better understanding of how to transfer iPhone photos to Google Drive. If you enjoyed this article, you might also like our article on how to transfer from Google Drive to iCloud or our article on how to transfer photos from Google Photos to an external hard drive.

